Monday 26 March 2012

1 Week Later

Well due to me being away to the Isle of Skye since last Wednesday, there has been no updates to either this blog or the brew itself.

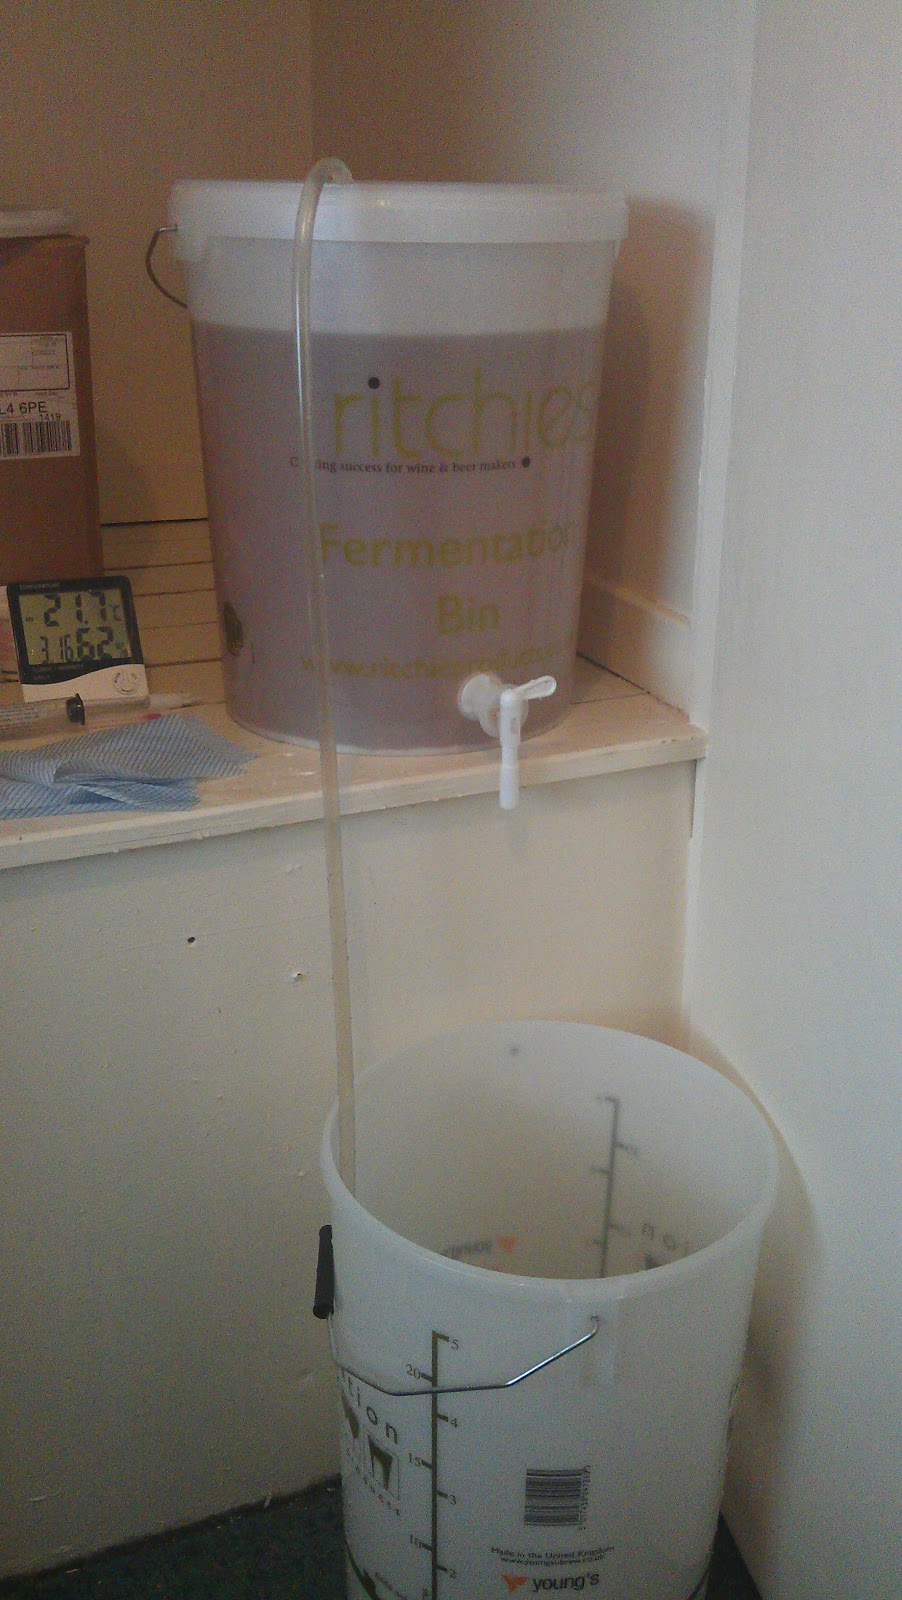
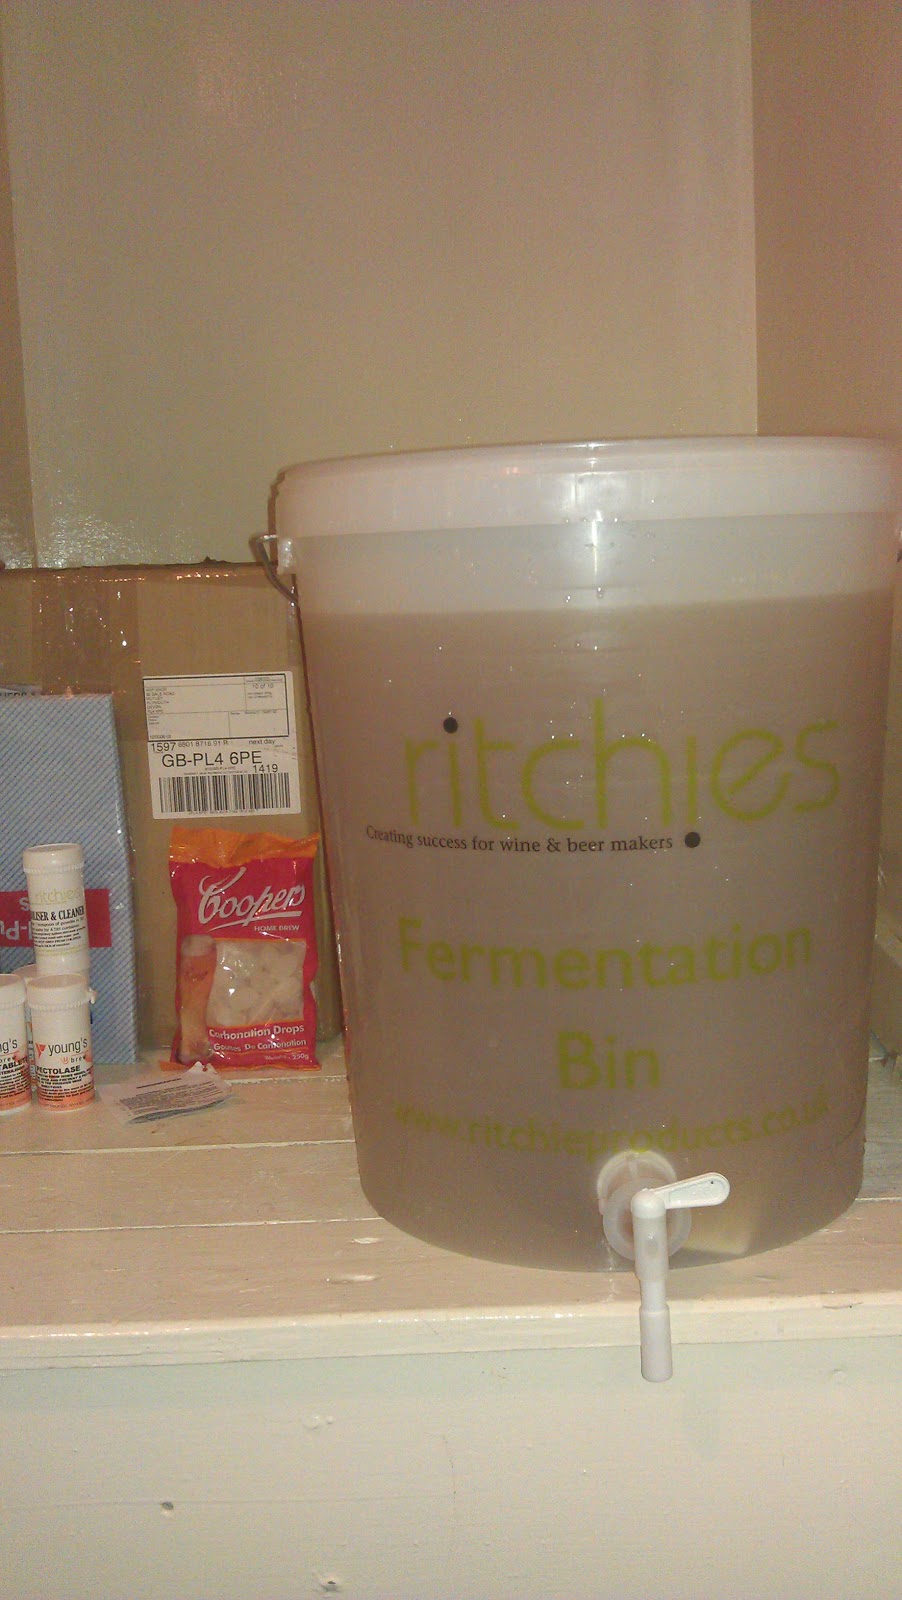
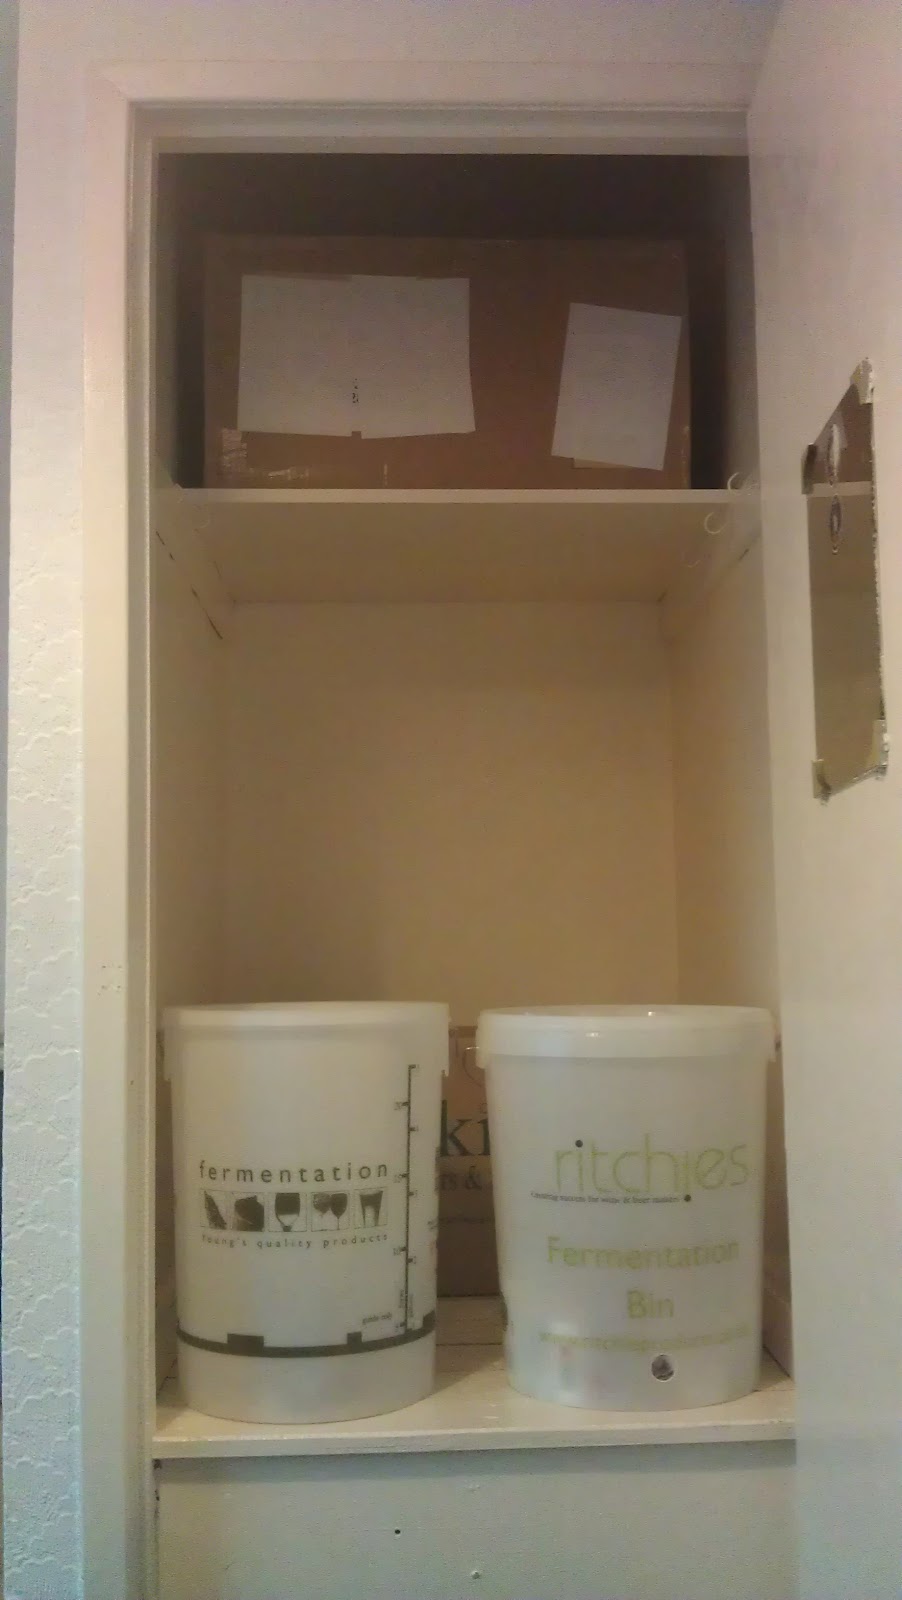
It's been sitting quiet happily in the cupboard.. I was going to move it into the shed but due to the really unusual weather here the last few days, the shed was like a sauna! *ohhh gets idea for next project*

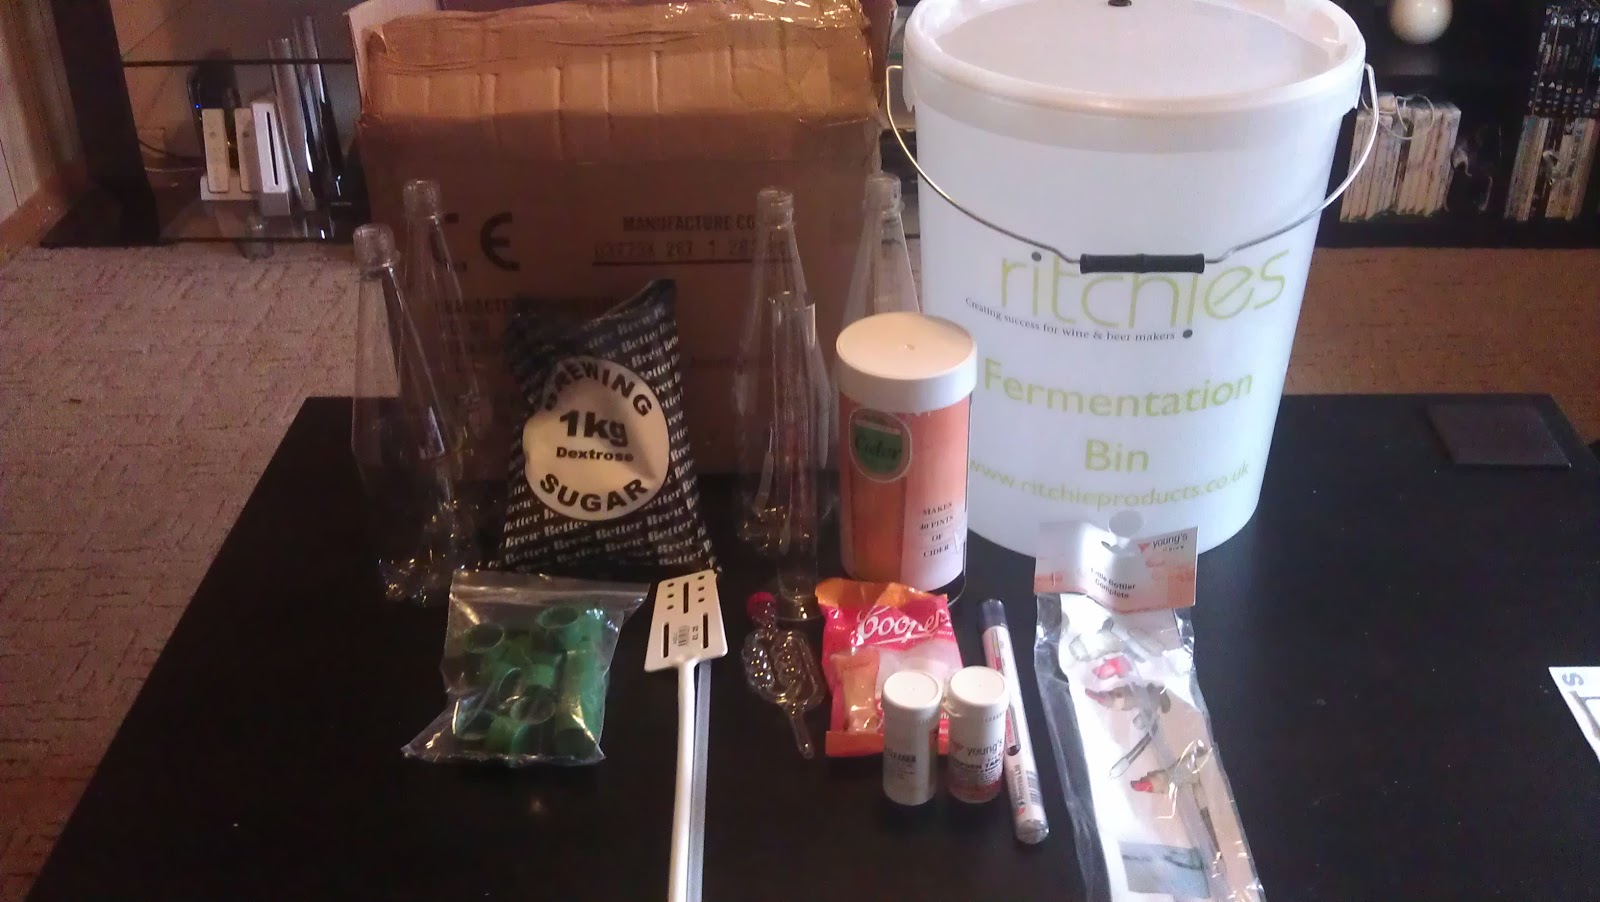
The bottles seem to have some fizz in them now, and can feel some pressure in the bottles but nothing to worry about as these PET bottles can hold up to 100 PSI anyway.. no bottle bombs here!

So they are just being kept indoors, same place but with the temperature a bit cooler in the room.
I have however, moved 2 bottles into the fridge earlier this afternoon and now they are nicely chilled.

I had marked the first bottle poured.......

Couldn't resist... so had to open it!!!


Looks - Well it's relatively clear, bottle had some fizz but that will improve over time.

Taste - It's drinkable, not really got a bad after-taste and goes down pleasantly enough.

I would say it would definitely needs a bit longer sitting to improve and my plan now is to leave it a few weeks and get started on the next kit.

Though I am going to finish this bottle, would be rude not too!

Monday 19 March 2012

Fill 'em Up

And the time has come, the last stage that I actually have to do anything with the brew.. well before drinking it!


The picture on the left shows a device I ordered to make bottling simple and reduces the chance of bubbling. It is called the Little Bottler and has a cut off valve to allow you to easily stop the brew flowing into the bottle.

As you can see in the centre picture shows how easy it is to fill the bottles with just one hand, I've held the bottle at a slight angle to reduce the air getting in by letting the brew slide down the inside of the bottle.

And the picture on the right was the first bottle that I filled, you need to leave a gap at the top of the bottle to ensure there is room for the brew to ferment any of the priming sugar... albeit I did leave a bit too much gap on that one. 
I've marked this bottle just so I can enjoy that one as my first bottle of 'Home Brew'.

So after filling all the bottles, which for this I have used 21 x 1 Litre bottles, there we have it.. now it stays in the cupboard for a few days again at a steady temperature just to allow any final fermentation to take place. 


Once it's been in the cupboard for 3-4 days it will be transfered to somewhere cool, the shed will be ideal for this and this will allow the brew to settle and clear. Although it can be drank in around a weeks time from now, it's best left for a few weeks and longer if possible... as if that's going to happen! 

And now everything has been cleaned and ready to start again, unfortunately I need to wait a while as am away for the next week. 


But as soon as I get home, I will be purchasing another cider kit, might go for a pear flavoured one next time!

Bottling Day

So after a few days in the 2nd FV it was time to bottle the brew!

Again, before anything it was time to clean the FV, syphon hose, little bottler and bottles/caps. I just filled the FV  with warm water with the sterilizing powder and then left the equipment to soak in there for 10 minutes.
Once I removed the items, and gave them all a good rinse, I just used the solution to dip the bottles in a few at a time and leave them for a few minutes before removing them and giving them a good rinse a couple of times.


This was probably the most time consuming task so far, but of course worth it all to ensure no bacteria or sterilizing solution remained in the bottles. Nothing worse than an off tasting cider after all this effort!
Once this was all done, it was back upstairs to the cupboard to syphon into the clean and sterile FV.

At this stage, the brew needs to be primed at the bottling stage. There is 2 methods to do this
  • Batch Priming
  • Bottle Priming 
I got some Coopers Carbonation Drops with the kit I ordered, though you can use ordinary sugar. 
With batch priming you add the sugar or drops to the FV and once this has all dissolved bottle it. 
And with bottle priming you just add the sugar or drops to each bottle, but needs to be done in equal quantities to make sure they are not overally fizzy once capped. 

I chose to use the drops and put them into the FV before syphoning, where they would just dissolve. 


Friday 16 March 2012

Transfering the Brew

As I mentioned in the last post, my main reason for transferring the brew is to try get rid of most of the sediment from it. This all sits at the bottom of the fermenting vessel and with some careful syphoning, the brew can be transferred without disturbing the sediment.

In the picture below (sorry it's a bit out of focus), you can see the end of the syphoning tube I am using inserted in the brew just below the letters R and I of the writing on the FV.


As you can see in the photo, the sediment is lying at the bottom of the FV, and by carefully ensuring that the syphon hose doesn't disturb this, this will allow the brew to transfer over cleanly.

Obviously you can't take all of the brew over as this would disturb the sediment, but I reckon between the few samples I have taken for a hydrometer reading, plus what was left behind in the FV, I have probably lost around 1 litre out the 23 litres that was brewed.

But I would rather do it that way, than have a load of sediment being disturbed when I bottle it from the tap on the FV I used for the initial fermentation.

And as you can see below in the short video, the transfer process was pretty easy, if a bit slow but didn't need to do much until it got near the bottom anyway.


So now just to leave it a few days and then transfer it back into the other FV before the bottling.

Preparing to transfer

 Started off today by taking another hydrometer reading and that was the same as yesterdays reading of 1.0002.
This means that fermentation has stopped and I will end up with a cider at around 5% ABV.
So now I could prepare to transfer to the secondary fermenting vessel (FV). The reason I have decided to do this was to try and remove as much of the sediment as possible before bottling.
After cleaning and sterilizing the 2nd FV with lid and the syphon hose, it was just a case of using gravity to syphon from one to the other as you can see which was easy to do with the cupboard am using being above floor level. 
A tip given to my by a forum member on The Home Brew Forum was to make sure the end of the syphon hose was at the bottom of the 2nd FV to ensure minimal air was getting into the brew.

Thursday 15 March 2012

Day 8

Quick update - No sign of any bubbling coming through the airlock for a couple of days now, so I reckon fermentation must be pretty much complete. Took another hydrometer reading today, and it has dropped to 1.002 now which is good.  
Can also see the brew is clearer than it was a few days ago, so will take another reading tomorrow and if it remains the same, it's on to the next stage.


Monday 12 March 2012

Day 5

So after 5 days fermenting, I decided to take a Hydrometer reading today to see how the fermentation is going.

Before doing this, I needed to sterilize the turkey baster, trial jar and hydrometer to be on the safe side.


On opening the lid, as you can see in the photo above, it has cleared up a lot in the 5 days and looks good. Also got a lovely cidery smell when the lid was taken off.

After taking some of the brew out with the turkey baster, I put this into the trial jar and then dropped in the hydrometer to get the reading. As you can see in the photo below, the reading has went to 1.004 which is a good point to be at this stage.


Obviously it is still cloudy, this will stay like this until the bottling stage where hopefully it will clear up nicely over time.

Am going to leave it another 4-5 days then take another 2 readings a day apart and if they remain the same, I will transfer it to a 2nd fermenting vessel before the bottling stage.

Fingers crossed but it looks to be going well so far!

Thursday 8 March 2012

24 Hours Later

Just a quick update, and as expected not much happened in the first 24 hours which is perfectly normal.

But now it seems to be slowly fermenting and there is air bubbles coming out the air lock.. am happy that it seems to be going to plan so far.

Wednesday 7 March 2012

Time to begin

So it is all about to start, I have read up on some information I need for starting my first batch, received all the equipment, found a location and it is now time to prepare the batch!

One of the main things I have read that is vital to the process is cleaning and sterilizing. I got some Wizz Oxy Stain Remover for cleaning, which was done in the batch and equally important is to make sure its well rinsed.

Then the sterilizing process, which needs a bit of planning to ensure everything is completely free from any bacteria that might make your brew go horribly wrong. I soaked everything in the sterilizing solution and then rinsed it in preparation for the mixture.

Soaking of the equipment in sterilizing solution

Then it was time to mix the cider kit by carefully following the instructions on the kit and cross checking on the   Home Brew Forum and in particular THIS thread by Calumscott so many thanks to him for doing that guide.

It is pretty much mixing in the kit with sugar and hot water then stir well till it is all well mixed in. Then top up to the 40 pints (23 litres) with cold water and mix well. Then you add the sachet of yeast (also supplied in the kit) 

The mixture once all the ingredients have been added

Yes it looks disgusting at the moment, though doesn't smell to bad at the moment. Certainly not for consumption at this stage.... patience is a key to this process. 

The photo below left is the mixture ready for fermentation, this should stay like this now for around 7 days to allow fermentation to take place. 


The photo on the right is the testing of the gravity of the mixture which starts off at 1.040. 

After the 7 days are up, I will take another reading with the hydrometer and then again the day after. Once the readings remain the same, it will be time to move onto the next stage which is preparation for bottling.

Location


Well obviously am going to need a fair bit of storage, especially if I plan to do 2 maybe even 3 batches on the go if all goes well with the initial test batch.


Brewing cider needs to be kept around 18-22° for best results, and luckily we have a spare bedroom with a huge cupboard which is ideal. Once the fermenting process is completed, it can be moved to a cooler location for which I will use the shed.

Temperature is around 20° as I have a digital thermometer in there to keep an eye on it.


As you can see, 2 fermenting buckets fit nicely in there, and on the top shelf there is plenty storage for empty bottles.

I plan to put a shelf in the cupboard, and this will be perfect for up to 4 large fermenting buckets or perhaps a mixture of them and some smaller 1 gallon Demi-Johns for brewing some wine if I feel brave enough.

If I do have an issue with keeping the cupboard a constant temperature, there is a few options available to me including heated mats, heat belts or even fitting a temp control system into the cupboard... ooft sounds a bit technical though!

Delivery Time

I must begin by saying the service from Hop Shop was fantastic. I decided I wanted to add extra bottles to the order and after a quick phone call to them, they sorted that out.
The order was placed late on Sunday night, dispatched Monday afternoon and delivered by Tuesday afternoon.. brilliant service and would recommend them to anyone looking to get into the Home Brew game.


The picture above is the main equipment received, along with another box of bottles which will allow me to get two batches on the go once I have tried and tested the initial batch.

The order I placed was as below -


1 X Cider Making Starter Equipment Pack for bottling
1 X Campden Tablets [Pack Size: 50]
1 X Hydrometer Trial Jar - Glass
1 X Brewmaker Deluxe Cider


Kit Contents:


A Large 25 Litre Food Grade Fermenting Bucket with lid An Air-lock. 
A 'Little Bottler' bottling device 
20 x 1 litre clear PET bottles with caps 
A Hydrometer 
A Thermometer 
A tub of Steriliser 
A 1 kg of Brewing Sugar 
A pack of Carbonation Drops 
A Mixing Paddle


This along with a few extras I picked up from Tesco which included a second Fermenting Bucket for pre-bottling fermentation, a Turkey Baster for taking out a sample of the brew to test the gravity of it, some Wizz Oxy Stain remover for cleaning, a syphoning hose and an extra tub of sterilizer.

On that note, the large Tesco store near us have a decent sized section dedicated for the Home Brew market and will be handy to pick up spares.

Total cost of everything I have purchased so far is around £90.

While this may seem a lot of money to spend on something that could all go terribly wrong, I see it as a worthwhile investment.
This cider kit I have got will make 40 pints at a time, and with me having enough equipment to make two batches at once now, the initial outlay will soon pay for itself as all that I will need to purchase in future is the cider kit and sugar which will cost around £15 for 40 pints which is under 40p per pint!

So now I had everything I needed to begin the process... 

Sourcing the Equipment

Ok so first task was to get myself some equipment. I checked out the link my friend posted, and then looked what sort of starter kits were available.

Hop Shop UK

There seemed to be two options of kits on most websites I looked at :

  • Bottling
  • Barrelling

Obviously being the utter amateur that I am and needed to know the differences, I used the power of Google plus asking on the conveniently located thread on eFestivals.*

Another great source of information is The Home Brew Forum and they are very friendly and helpful to n00bs like myself.

I decided that the Bottling method would suit me more due to being able to store them easier, transport them easier and drink them easier. 

After checking out that the kits were all I would need, I got some tips on a few extras that would make the process of home brewing easier so after pricing it all, the website linked above seemed to be the cheapest option. 

So in went the order!

* Many thanks to the people on eFestivals for the advise so far.. don't worry there will be more questions am sure!

Thought Process

So why Homebrew?

Well anyone that knows me, already knows that I do like the occasional Cider. Well, honestly I bloody love the stuff.
But you know how it is - recession, cost of living increasing, wages not increasing, festival season approaching.
Not long ago, a friend posted a link to a homebrew kit on Facebook and that got the old grey matter going.
What if I could make my own cider? How messy can this summer get?
So after looking into these kits, I decided it would be at least worth an attempt.

And this blog will follow the progress.. through the rough and smooth.. and the hangovers hopefully!!